What to Expect During Your Roof Replacement: A Step-by-Step Guide
Replacing your roof is a big investment—but it doesn’t have to be a stressful one. Whether you’re dealing with storm damage, old age, or preparing your home for resale, knowing what to expect can help the process go smoothly.
At Veenkamp Roofing and Siding, we believe an informed homeowner is a confident homeowner. Here’s a step-by-step guide to walk you through what happens during a typical roof replacement project.
Step 1: Initial Inspection and Estimate
The process begins with a professional inspection. A roofing expert will assess the condition of your current roof, identify any underlying issues, and discuss your material options. You’ll receive a written estimate detailing the scope of work, materials, timeline, and cost.
Pro Tip: Always ask questions—this is the time to get clear on warranties, materials, and insurance coverage if applicable.
Step 2: Scheduling the Project
Once you approve the estimate, we’ll schedule your project. We aim to choose a stretch of clear weather and coordinate any necessary permits or HOA approvals in advance.
You’ll receive a preparation checklist, which may include:
- Moving vehicles away from the house
- Securing pets and kids indoors
- Removing fragile items from walls and shelves due to vibrations
Step 3: Delivery of Materials
A day or two before installation begins, your roofing materials will be delivered—typically placed on your driveway or lawn. This includes shingles, underlayment, nails, flashing, and other essentials.
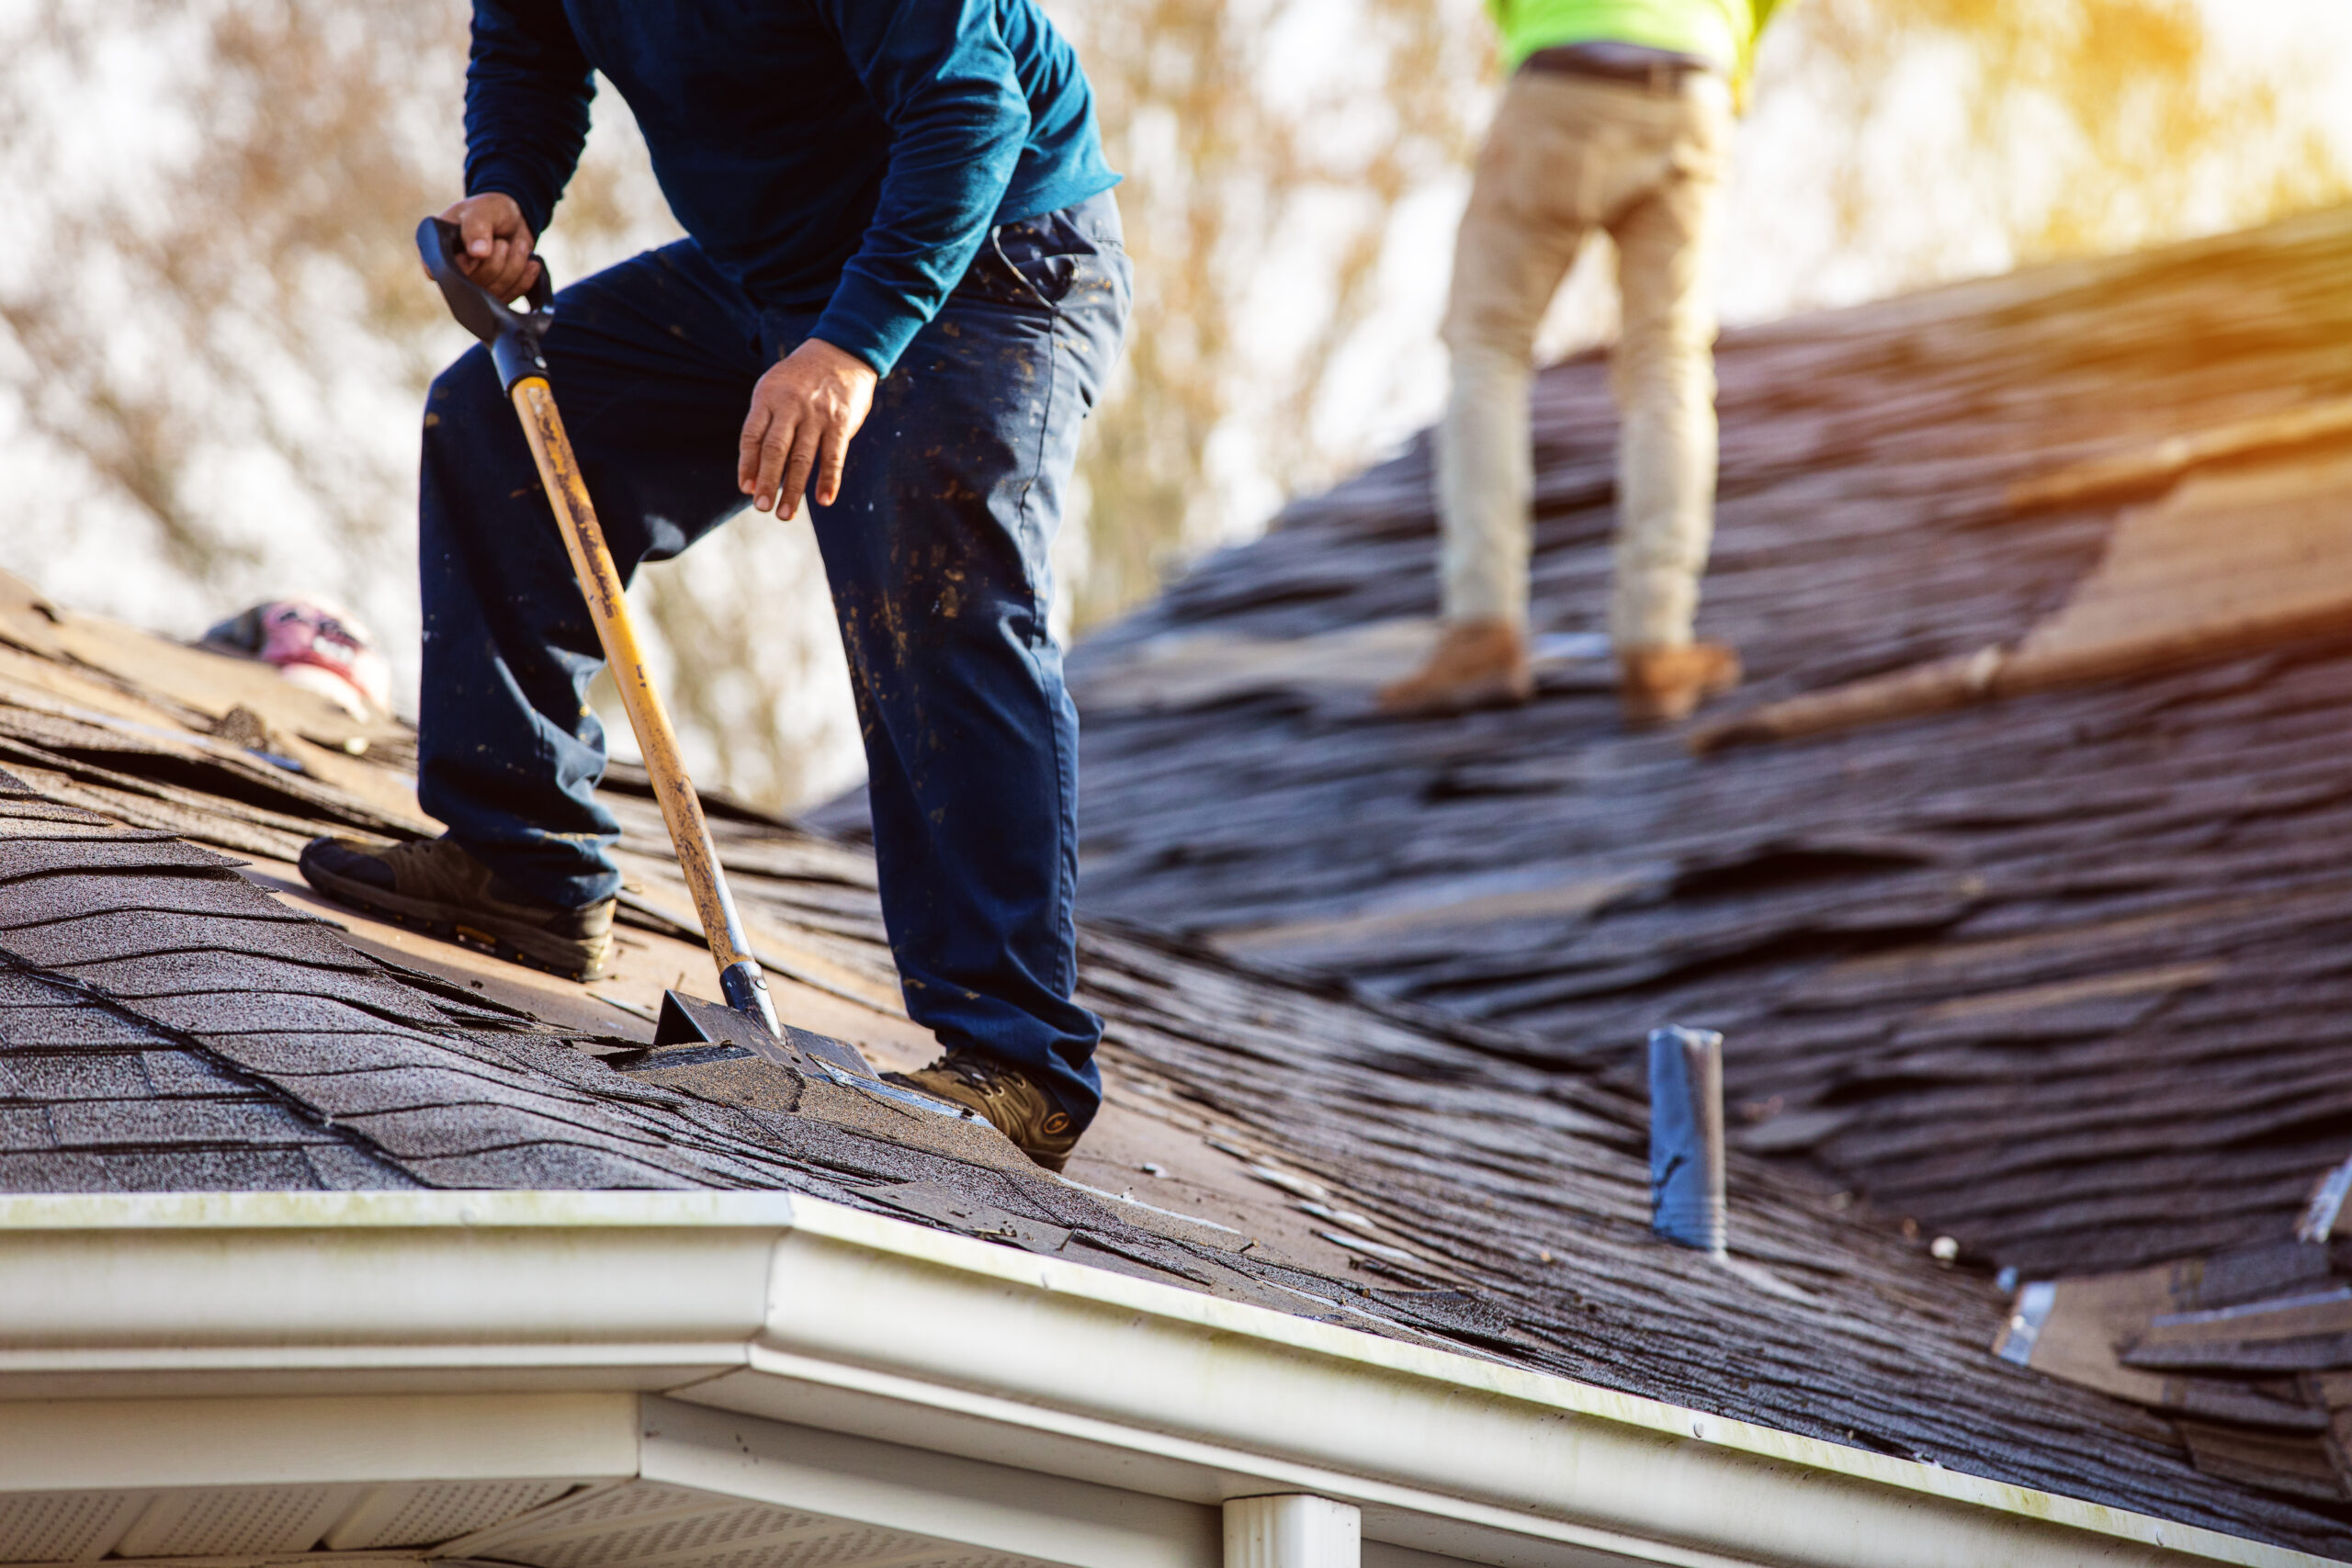
Step 4: Roof Tear-Off
On installation day, the crew will begin by removing your old roofing materials. This is one of the noisiest steps, so it’s best to plan to be out of the house or in a quiet room if you’re working from home.
We lay down tarps to catch debris and protect landscaping. Clean-up is ongoing throughout the process.
Step 5: Inspection and Repair of Roof Decking
With the old roof off, we’ll inspect the wood decking underneath. If any boards are rotten, warped, or damaged, they’ll be replaced to ensure a solid foundation for your new roof.
Step 6: Installation of the New Roof
Now comes the exciting part—your new roof goes on! This includes:
- Ice and water shield
- Underlayment
- New flashing
- Shingles or other selected roofing material
- Ridge vents and other ventilation components
We follow manufacturer guidelines to ensure your warranty stays valid and your roof performs as it should.
Step 7: Final Cleanup and Inspection
Once the new roof is installed, our crew does a thorough cleanup of your property, including magnetic sweeps to catch stray nails.
Then, a final inspection is performed to ensure quality workmanship and your full satisfaction.
Step 8: Warranty and Follow-Up
You’ll receive documentation of your warranty (up to 20 years with Veenkamp) and any maintenance tips to help your roof last as long as possible. We’re always available for questions—even after the job is done.
Ready for a New Roof?
A roof replacement doesn’t have to be overwhelming. With the right contractor and a clear understanding of each step, you can protect your home and improve its value with confidence.
If you’re considering a roof replacement, contact Veenkamp today for a free inspection and estimate!
